First off, you know I love a good planter...
When we bought our house, the front porch was completely closed in and guests entered from the side. Which makes one question "What's up with that?" It just didn't function the way we wanted it to. Since moving in, we've opened up the front porch and just recently moved our mailbox from the side to the front. So much better! However, the side entrance was starting to feel a little naked.
Enter this Greetings Planter!
The house number planters that you see all over the internet are totally my jam. But we really didn't need house numbers on the side of our house, and although they are super beautiful, they are super pricy. Since this isn't our main entrance, I wanted something simple and inexpensive.
Supplies
-2 pieces (1/8 in x 4 x 12) of birch plywood
-1 piece of 3/8 x 12 x 12in birch plywood
-Wood letters
-Succulents or cacti
-Plastic container to plant succulents in
-X-acto knife or dremel
-Ruler
-Sandpaper
-Wood glue
-Wood fill
-Spray paint
-Weather protecting varnish
- Hooks to hang planter
*All can be found at Michaels or your local hardware store
Measure two 3" pieces for the sides of the box. Mark and then score with your knife. I found that you could score the wood about halfway and apply pressure to break it in half. The excess will be the front of your planter box. Make sure and label your pieces, just in case!
Here's the lazy way to figure this out- take your front piece and butt it up next to the piece of plywood. Then mark that bad boy. This will be the bottom of your planter.
Sand all pieces including your bigger piece of plywood. Sometimes during the cutting process, your measurements get a little skewed. Sanding helps even things out and get a better finish when spray painting.
Use the wood glue to adhere the pieces together. Rest the pieces next to a box so the pieces dry straighter. Wait about an hour in between pieces. When I glued my sides, I rested a heavy book on top of them to help with pressure.
After the box is dry, cut the excess off of the back using your x acto. I didn't do this step in the beginning because I wanted to make sure all the edges would meet up. If you are super precise, then you can totally do this step when you are cutting your pieces. If not, it isn't hard to just cut and sand the existing part off! #winning
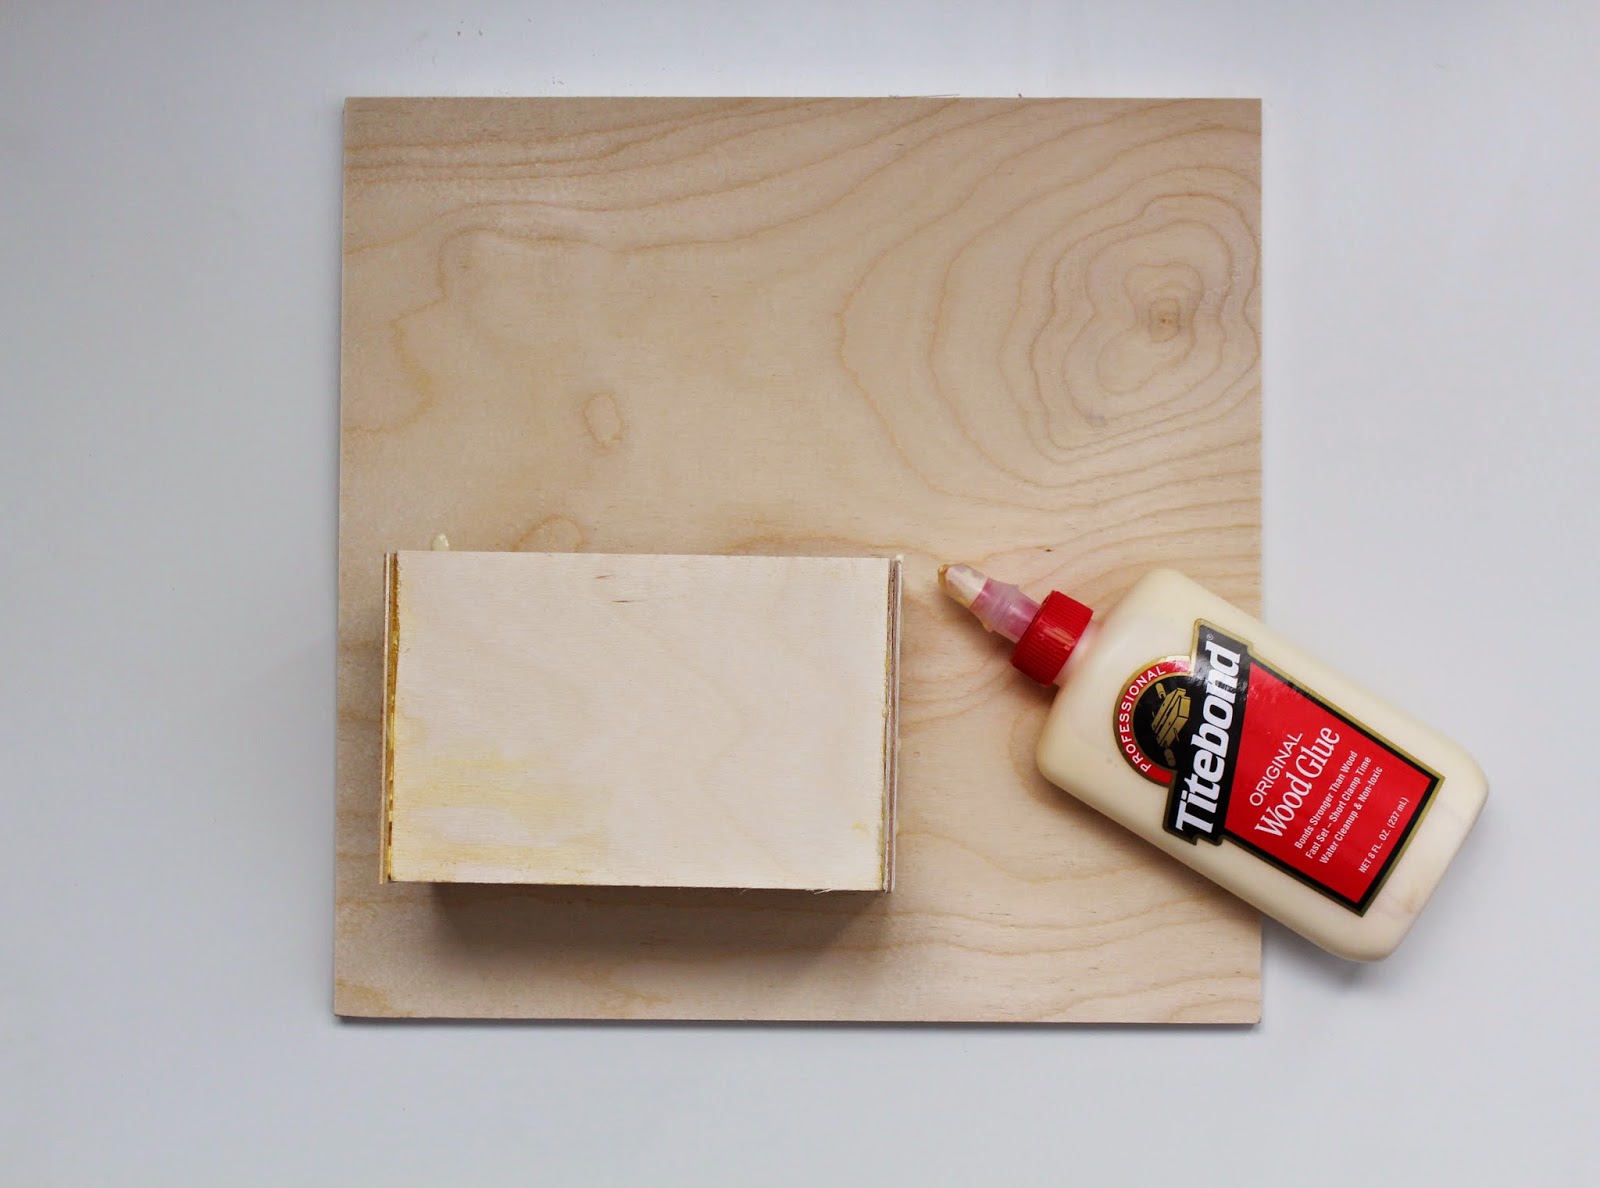
Glue your box to the plywood. Place a heavy book to apply pressure while drying. I would wait overnight, just to make sure it's really solid. After drying, apply wood fill to all of the cracks and crevices. Once the wood fill is dry you can sand it off to make it look smooth.
* If you get thicker plywood, you can nail your pieces together after they are all dry. I did this with the first planter box I made, and it worked great! It's just an extra step, and it's harder to cut the thicker plywood with a knife. Plus the plants aren't super heavy, so I decided to skip that step for the tutorial.
Spray your planter and letters! After spray painting, I lightly sanded the planter because I didn't want it to appear overly glossy. Glue your letters down. This is where you can really add personality to the project! I really thought about adding "Wazzzz up" because I feel like that should've never went away. But ultimately, Bonjour won.
After the letters are dry apply your varnish. I skipped this last step because I have a covered entryway. However, I am going to go back and apply it because weather is crazy here in Missouri!
Add your hooks to the back and then plant your succulents. I used a tupperware container (that I found at Michaels in the dollar section) to plant my succulents. That allows you to just pull them out of the planter when you water them.
Hang that bad boy. Then do a jig because this thing is awesome and so are you!
This is such an easy and cheap project to do that adds so much fun to your entryway. Overall the materials cost me around $30!
I am already thinking about all the fun things I can add to it when the season changes! Mini Mums?! Holly?! The opportunities are knocking at my door...Sorry. That joke just needed to happen.
Happy planting!


No comments:
Post a Comment